Auto-swap
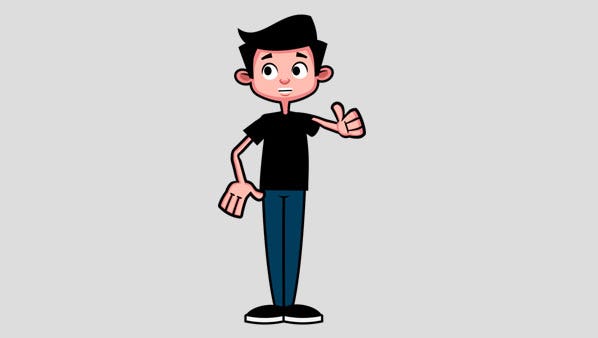
Auto-swap lets you automatically switch between different artwork layers, like hand or arm positions, as your puppet moves. This allows your character to have a more customized, frame-by-frame look for certain elements mixed with real time performance capture, thanks to a new behavior called Leader/Follower.
Free example puppets
You are free to download and use these puppets however you want — no credit needed. To import a puppet, go to File > Import and select the .puppet file, or double-click it on your desktop.

Aha Chicky
Cute multiframe baby chick animation that cracks open the egg as you drag the mouse up. Created by Kevin McMahon.
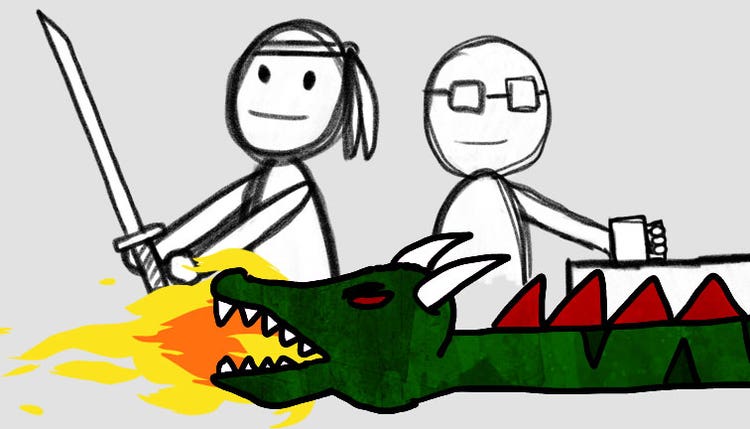
Auto-swap Examples
A project showing four examples of the Leader/Follower behavior and Auto-swap: holding a sword with two hands, holding a coffee cup with one hand, a unicycling robot, and a fire-breathing dragon snake.


How do I use Auto-swap?
- Create a group with independent contents inside. In your original PSD or AI file, create a group including your artwork in multiple positions. For example, this might be a Left Arm group filled with 10 different possible arm & hand positions. Make sure the contents are all independent by adding a + in front of each layer name.
- Add the Leader/Follower behavior to your top level character. Add the new Leader/Follower behavior to the root of your character, alongside your normal behaviors like Face and Eye Gaze.
- Create and tag your leader layer. Find the layer you want to start with and add a new blank handle onto where you want to drag it from. Press Enter to bring up a name dialog, and type in a unique name for your handle, like guide. Then, with this handle selected, tag it as Draggable and Leader.
- Create and tag your follower layers. On every other layer, create a blank handle, name it the same as the leader (guide in our above example), and tag it as Follower. Repeat this process until every layer in your group has either a Leader- or Follower- tagged handle.
- Create an Auto-swap set. Drag your group into the Triggers panel over the “Create swap set” drop zone. Select the newly created swap set title and check the “Auto-swap” checkbox below to change this into an automatically triggered swap set.
- Test out your scene. Now if you try out a scene and drag over your artwork, you should see your artwork automatically change as it moves from position to position.

Want to learn more about Character Animator?
- Watch our video tutorials to learn everything from getting started to advanced rigging at adobe.com/go/chtutorials.
- Download more free example puppets at adobe.com/go/chexamples and okaysamurai.com/puppets.
- There are several companies that sell puppets and puppet creation services. We've featured some of them (and more free puppets) at adobe.com/go/ch_examples_thirdparty_en.